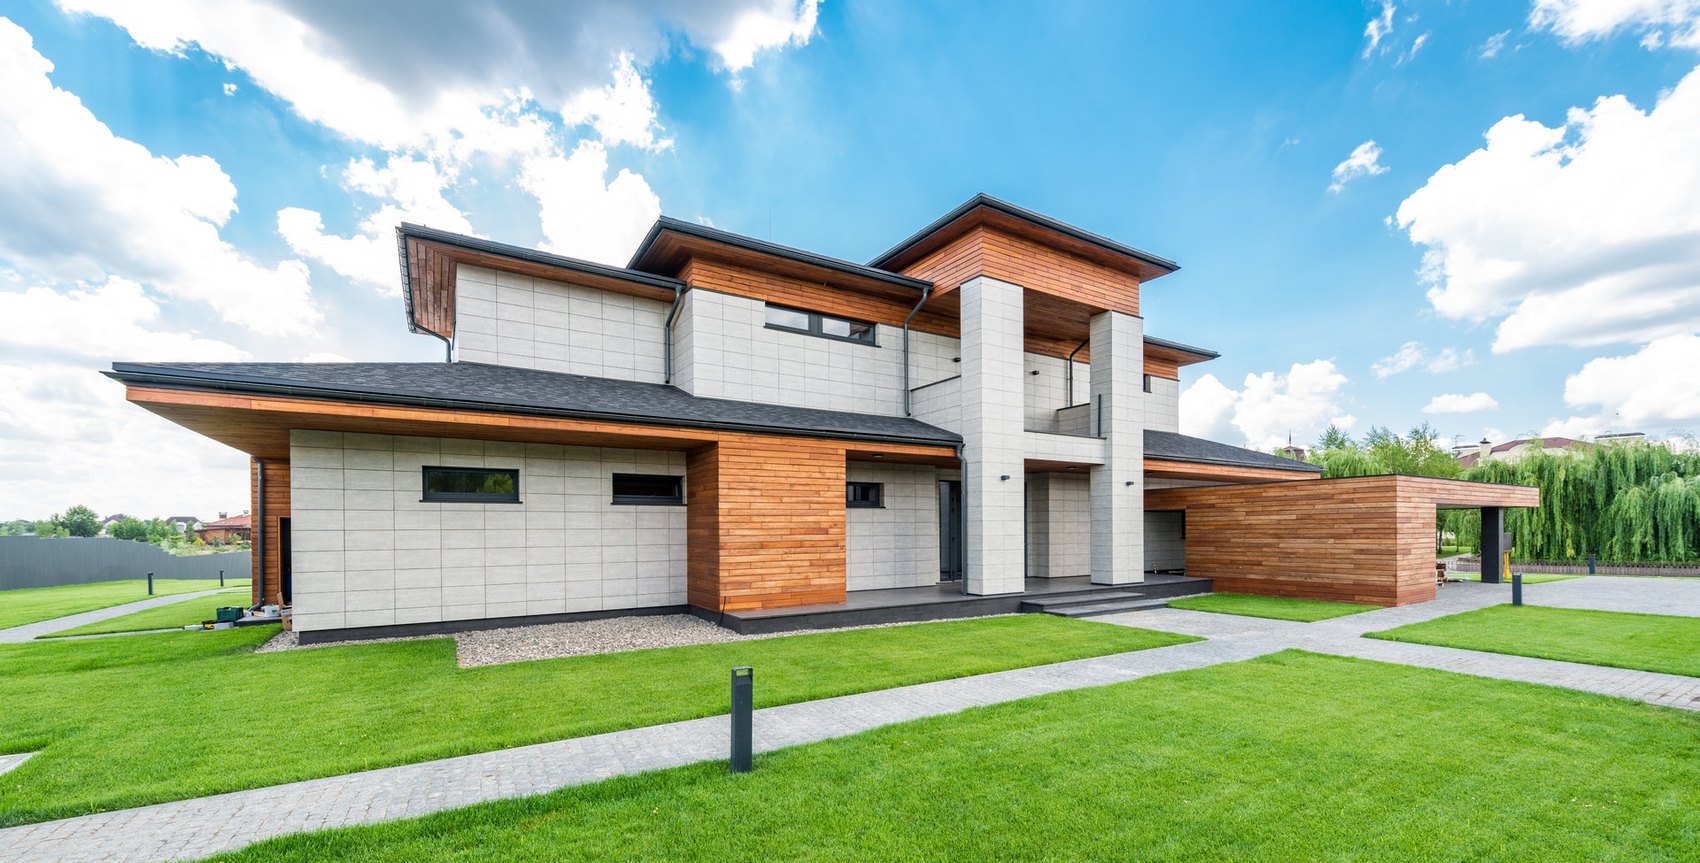
Architectural design in ArchiCAD is quite a demanding activity. That’s why courses in which you can fully master architectural design in ArchiCAD have a duration of 2.5-3 months. Classes with a teacher are held 3 or 2 times a week – it depends on the duration of the course. Architectural design in ArchiCAD is organized in such a way that students have time for high-quality assimilation of theoretical knowledge and possibility to fix it practically. Architectural design in ArchiCAD also includes the study of the Artlantis package.
Course objective
To master the opportunities of automation of the building design process in the ArchiCAD architectural design environment
By taking the ArchiCAD + ArtLantis course you’ll be able to:
- Work in the ArchiCAD environment
- Customize the workspace settings
- Use the ArchiCAD standard libraries
- Design single and multi-level rooms
- Prepare construction documents
- Visualize and create presentations of your projects
ArchiCAD course syllabus
Topic N1. “Introduction to ArchiCAD course. Pre-settings”.
Features and peculiarities of computer-aided design. The purpose of ArchiCAD. Its comparison with other architectural programs. Features of the ArchiCAD interface. Floating panels and their purpose. Opening a new file in the source environment. Preferences and settings for the workspace. How to work with project templates and work profiles. User interface settings, creating your own profile. Setting units of measure, accuracy, and scale. Setting design and step meshes. Skew grid. Saving files. Introduction to the program features on the example of a demonstration file. Controlling the image in various project windows.
Practical exercise: customizing and saving the user interface.
Topic N2. “Features of working with the drawing in the ArchiCAD course”.
Opening files. What files does ArchiCAD work with? How to select objects in a drawing, object anchors, different forms of cursor. Features of working with the image on the screen, zooming and panning the drawing. Parallel and perspective 3d projections. Navigating through a project. Navigation bar operation. Plan scale, grid, electronic rulers, object snap, guide line constructions. Ways to select objects, selection filters.
Exercise: simple georeferencing plan.
Topic N3. “2D drawing tools”.
Types of lines, drawing and editing techniques. Transformation of lines into constructive elements. Features work with color and thickness of lines. Guides. Attracting elements. Working with coordinates, graphical and numeric data input. Plotting lines, polylines, circles, arcs, ellipses and splines. Using 2D plotting tools for markup. Concept of style attributes, creating custom line types.
Practical exercise – drawing defined splines, creating notation of plan elements.
Project Visualization in the ArtLantis course
Topic N1. “Getting Started with the ArtLantis Interface”.
Setting up the program, connecting libraries, defining measurement units and modes of graphics viewing. Exploring the menus. Saving jobs in the internal format of the program. Transferring information between different ArtLantis versions. Importing ArchiCAD files. Importing files from ArchiCAD with preservation of parameters of cameras and light sources. Saving textures in ArchiCAD.
Topic 2. “Using texture shaders in the ArtLantis course”.
Standard Artlantis shaders. Changing the plug-in retoucher folder. Working with coverage libraries. Creating and connecting your own libraries. Applying a coverage on a surface. Change the properties of applied coatings. Working with external textures in Artlantis. Importing materials from another file. Replacing and redefining coatings.
Topic N3. “Working with Cameras in the Artlantis Course”.
Reading camera information from ArchiCAD. Creating and working with perspective cameras. Effects when working with cameras: depth of field, matching the camera view with the background. Parallel projections and adjusting them. Creating cuts in Artlantis. Creating background elements, inserting photos, 3D images and video files as a background. Working with atmospheric effects, setting up fog and smoke.